Overview

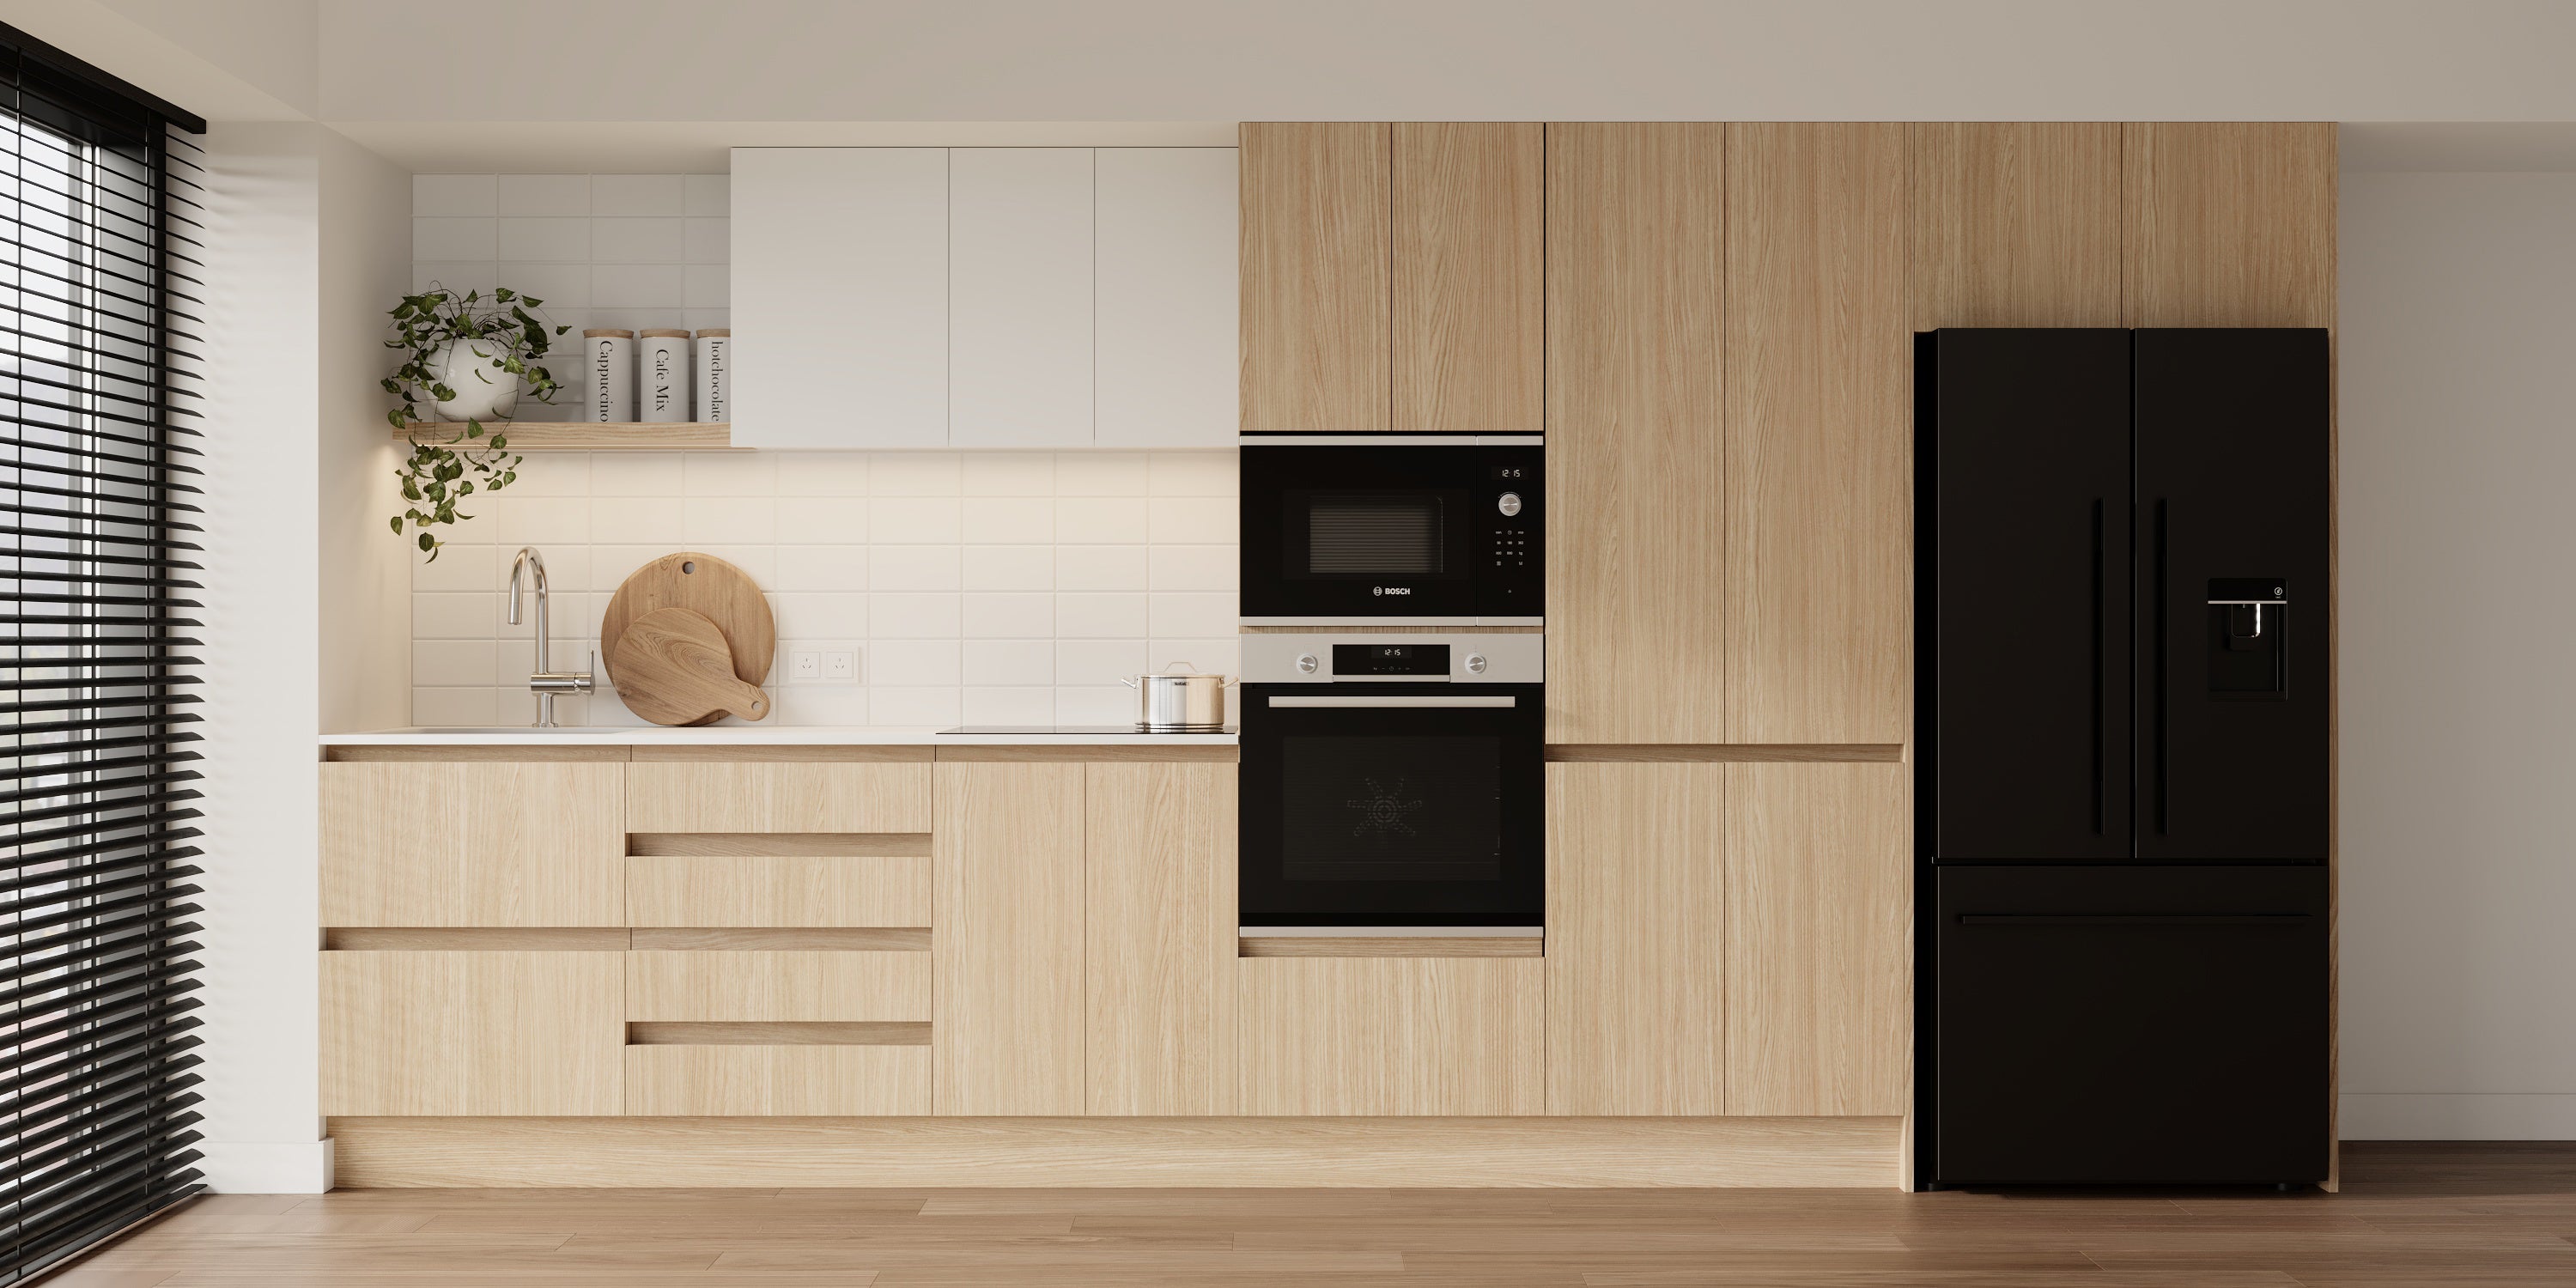
The majority of your kitchen will be made up of base and tall unit cabinets so this is a very important section to learn how to install your brand new SmartCab kitchen.

Tools & Materials

  • Cabinets
  • Drill
  • Measuring tape
  • Pencil
  • Level or laser line

Steps

1

Mark the height

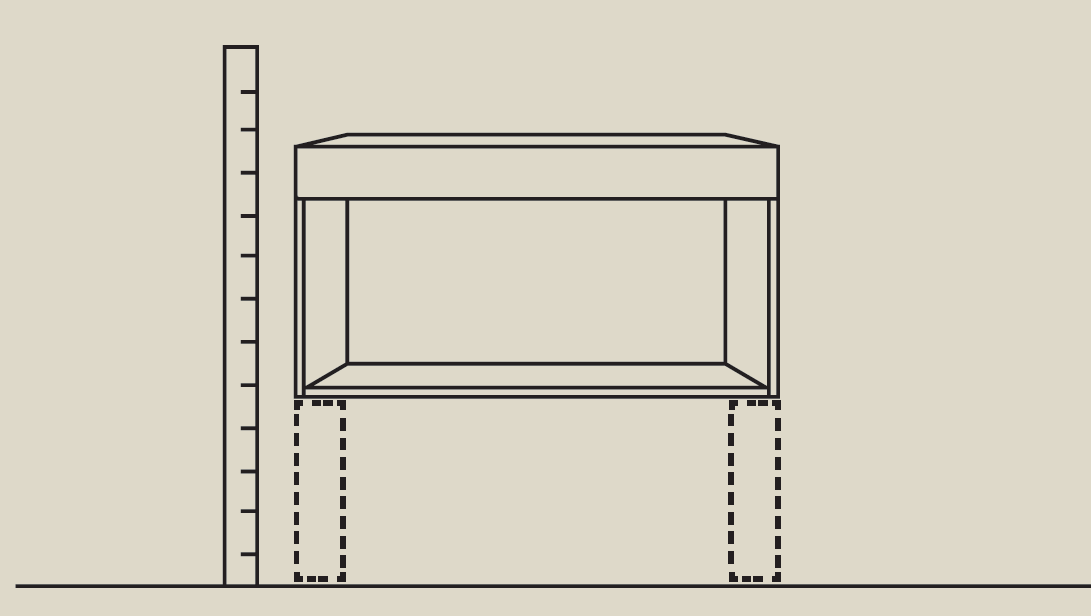
Find the lowest point (in the footprint your cabinets are going to be installed) of the floor using a level and from this point mark 880mm on the wall. This will be your carcass height. Use the level or a laser line to mark a line on the walls where your base units will go.

Use the same lowest point on the floor to mark the top of your tall units or wall cabinets. These markings only need to be where your tall units or wall cabinets will be. Note: If floor heights vary, simply trim the kickboards to suit.

2

Installing the first cabinet

If your kitchen has a corner unit, start with this. If your kitchen does not have a corner unit, start with the tall unit. If your kitchen has neither, start at the wall end.

If your kitchen has no wall at either end ie. up to a door frame start there or if there are no restrictions, start at one end.

TIP: When installing each unit, measure the remaining space to ensure the rest of the cabinets will fit so as to not find that the last cabinet has inadequate space.

3

Corner Unit Installation

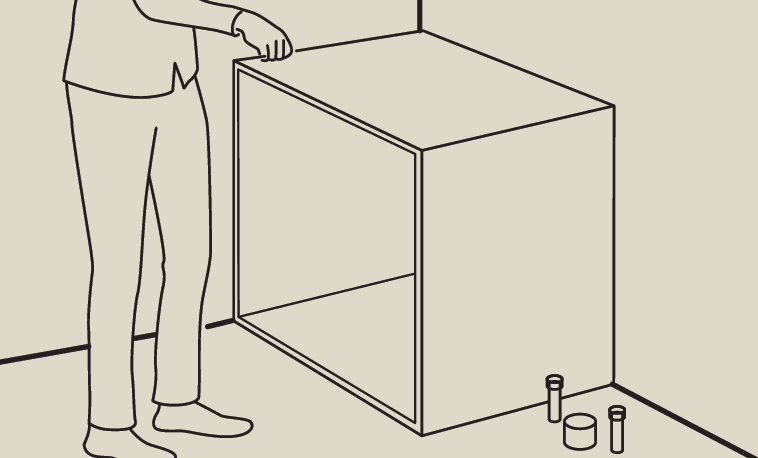
Remove all doors and shelves and set in place. Level up to your base unit line marked on the wall and ensure the top, sides and front area all level using the feet to adjust. DO NOT FIX BACK CABINET YET!!

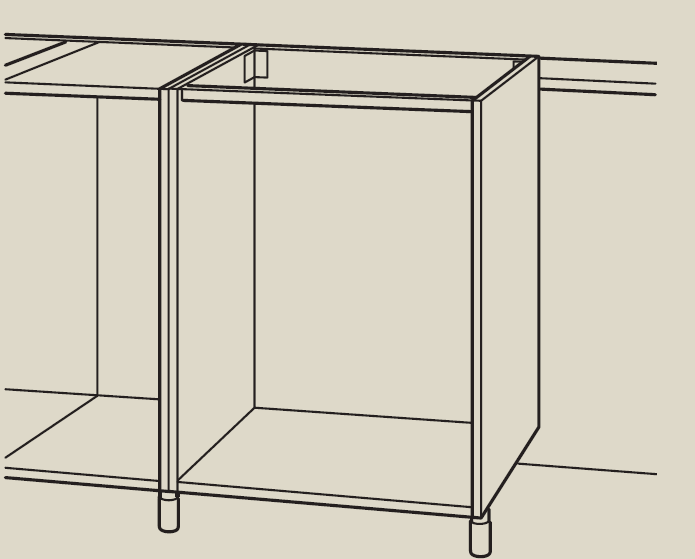
Fit the next two units that sit either side of the corner unit and level up to suit the corner unit. Remove doors, drawers and shelves.

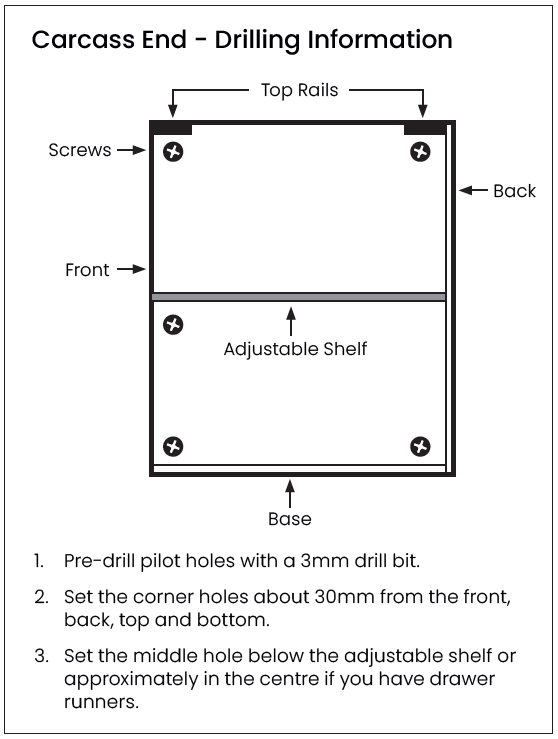
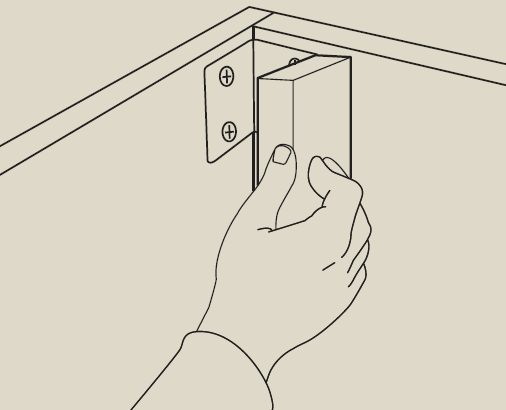
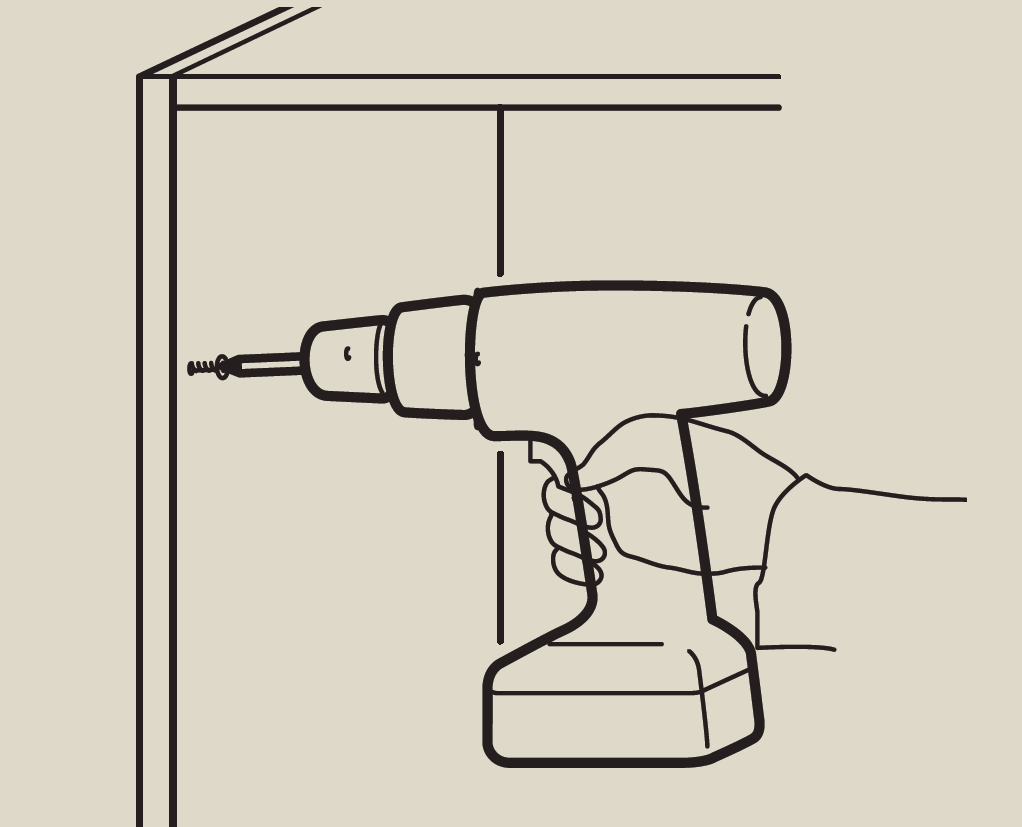
Ensure the front of the carcass and the top of the carcass are flush, attach one or two clamps to the units to hold them to the corner unit Affix these together by drilling a pilot hole. Be careful not to drill through the hole. Finish by screwing together. [See below picture showing drilling pattern and information.]

Remove clamps and double check units are still level and square to the wall. Also double check remaining space is still accurate for the remaining cabinets.

Consult your recorded stud locations and use 2-4 screws per unit or 4-8 for a corner unit to fix each unit back to the wall. Use small packers in the back where necessary if there are gaps to avoid twisting the cabinets out of square.

Check the level throughout this process and tighten or loosen screws to ensure they stay level and square.

4

Tall Unit Installation

Remove all doors, drawers and shelves and set in place. Level up to your tall unit line marked on the wall and ensure the sides, front and top if possible are all level using the feet to adjust.

Affix the tall packer and nudge into the wall. If the packer needs scribing to the wall, now is the time to do this.

Check remaining space is adequate for the rest of your units. Fix the tall unit back to the wall ensuring it stays in line with the top marks on the wall and stays level. Tighten or loosen screws to help with this.

Consult your recorded stud locations. We recommend 2-3 screws are used in the top tall unit in addition to 2-4 screws under the fixed shelf.

5

Base Unit Installation (against wall)

Remove all doors, drawers and shelves and set in place. Level to the base unit line and use the base unit packer.

Affix the base unit packer and nudge into the wall. If the packer needs scribing to the wall, now is the time to do this.

Check remaining space is adequate for the rest of your units. Fix the base unit back to the wall ensuring it stays in line with the top marks on the wall and stays level. Tighten or loosen screws to help with this.

Consult your recorded stud locations. We recommend using 2-4 screws in the carcass back.

6

Securing the cabinets

Position cabinets back to the wall, keeping it level. Using the supplied 60mm screws fix the cabinet into the wall studs. Up to 4 screws should be used for cabinet over 600mm wide (Up to 8 screws for pantry unit). Check with the spirit level and adjust if you need to before continuing.

As before, mark, drill, line-up the cabinet, and fix with screws. Temporarily fasten the cabinets together with clamps. Use the small drill bit to make two pilot holes in the inside of the cabinet, top and bottom as shown in the image, 30mm screws (supplied) can then be used to join the two cabinets together. Ensure top and front of cabinets are flush.

The base cabinet that will contain the kitchen sink should be prepared prior to installing. Holes for water pipes and drain can be sawn in either the cabinet base or back panel. There are two methods to do this, you can either cut these out before fixing the cabinet into place, or you can use a jigsaw. The correct size hole saw is perfect for making holes for the water pipes and waste.

7

Dishwasher cavity

If you’re installing a dishwasher, make sure to leave enough space not just for the dishwasher but also the end panels, which are 16mm each. See Part Four for more advice on this procedure.

IMPORTANT NOTE: Check your dishwasher specifications for information on recommended gap.

height