Overview

Prep work makes things much easier during installation. Make sure you complete these steps if you want a smooth and easy process.

Tools & Materials

  • Measuring tape
  • Spirit level
  • Stud finder
  • Pencil

Steps

1

How to check walls

Use a 1200mm minimum spirit level to check the walls are true and plumb. Noting any areas that may need work. Ensure walls are flat and free from nails, screws and major bulges. Pre-paint if required.

When you mount the wall cabinets, you might need a packer to fill the gap so that the cabinet and wall line up straight. Wood or Masonite pieces make ideal packers.

2

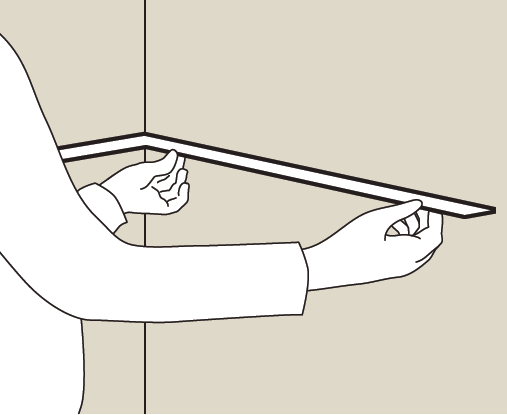
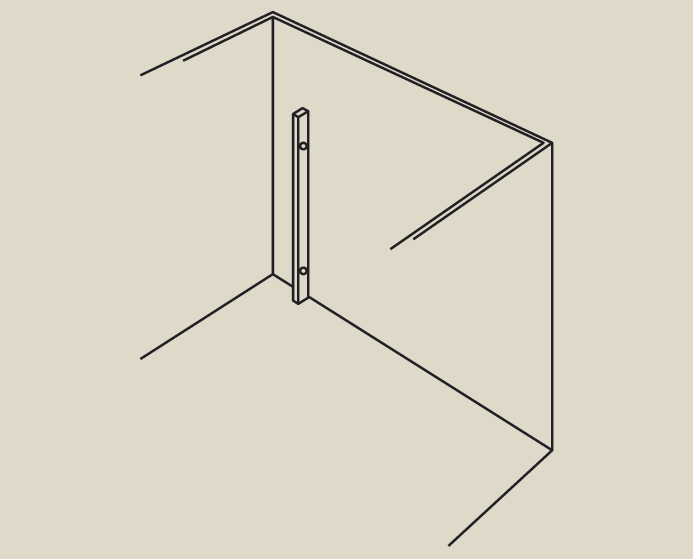
Check any right-angled corners

Use your set square to check what should be right-angled corners. Noting if any corners are not 90 degrees.

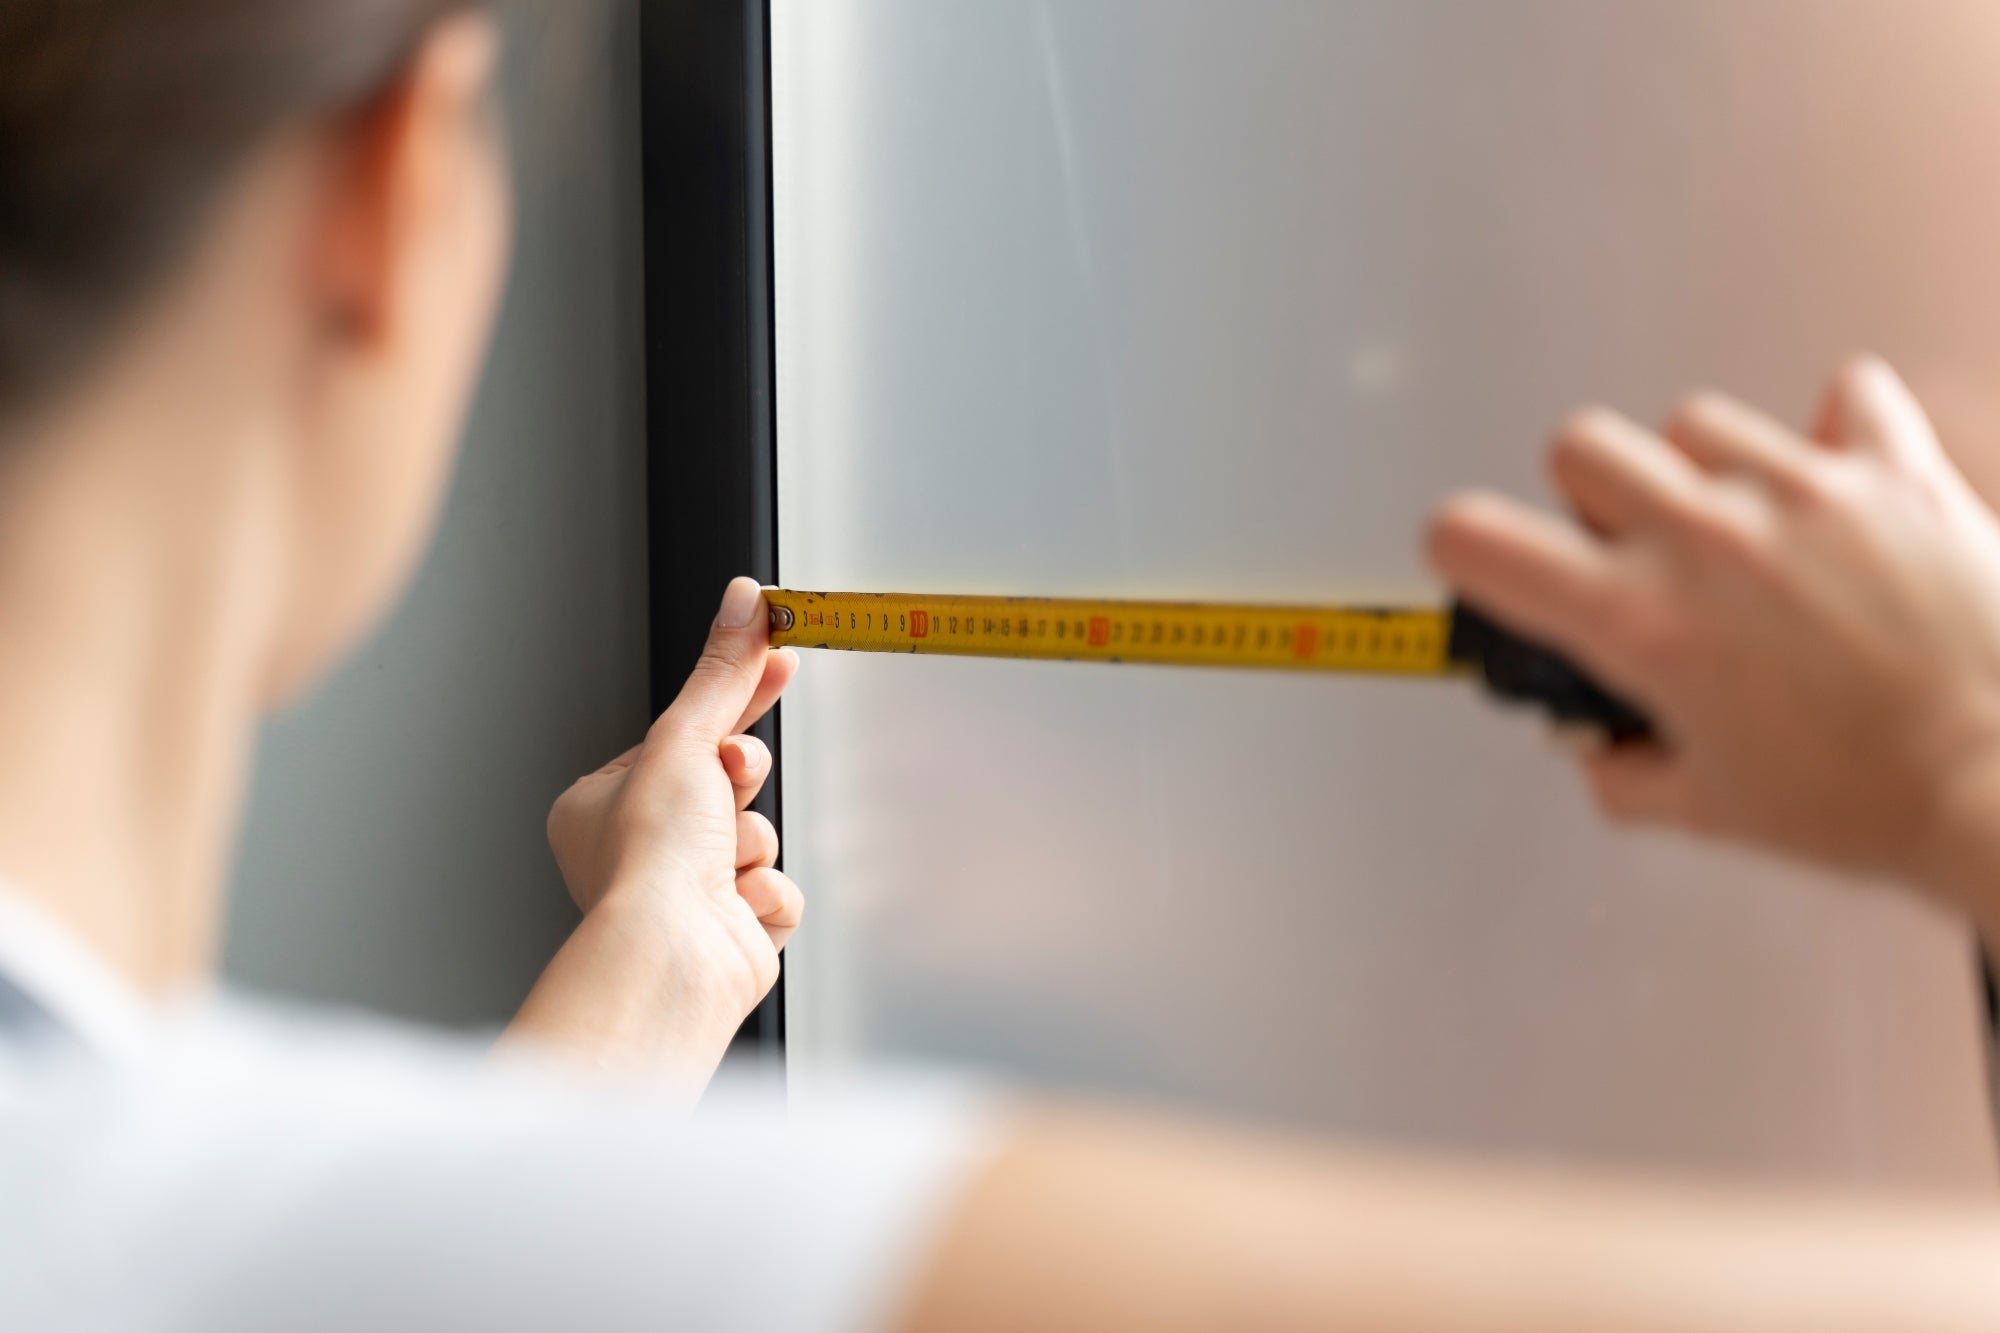
If you have walls opposite each other, measure the distance between them at multiple points. This will give you clear information that the walls are parallel.

TIP: A shelf makes an excellent tool for checking right angles in corners.

3

How to check the floor

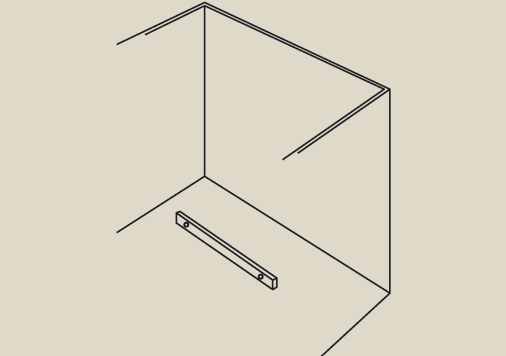
Ensure the floor is as flat and clear as possible. Pre-paint if required. Again using your spirit level, check the parts of the floor where you plan on installing the base cabinets. Make a mark on the wall with a pen or a pencil, indicating the highest and lowest sections of the floor.

4

Locate fixing

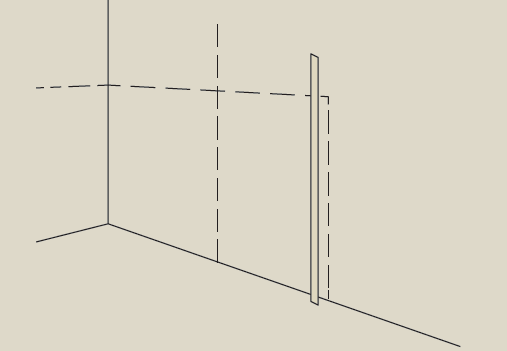
Using a stud finder, locate the wall studs (vertical house framing) where your cabinets will be installed. Also, take note of any plumbing or electrical components where necessary.

TIP: Measuring from one end of the room, record the measurements throughout installation on a rough sketch of your kitchen plan.

height